> For the complete documentation index, see [llms.txt](https://docs.decube.io/llms.txt). Markdown versions of documentation pages are available by appending `.md` to page URLs; this page is available as [Markdown](https://docs.decube.io/org-settings/single-sign-on-sso-with-microsoft.md).
# Single Sign-On (SSO) with Microsoft
Here's how you can use your organization's Microsoft account to log into decube directly.
Users now have the option to use Single Sign-On (SSO) for Microsoft Entra (formerly Azure Active Directory), enhancing the security and efficiency of user logins.
Without SSO-enabled, users log into the Decube app using their registered email and password. However, when SSO is linked and enabled for the organization, users must log in using Microsoft using their organization's Microsoft/Azure account to access Decube's application.
### Linking and Enabling SSO for your organization
You may enforce SSO in your organization by navigating to the `My Account > Org Settings` page.
{% hint style="info" %}
You will need to be an Owner or have permission to access the Org Settings in the Group-based Access Controls.
{% endhint %}
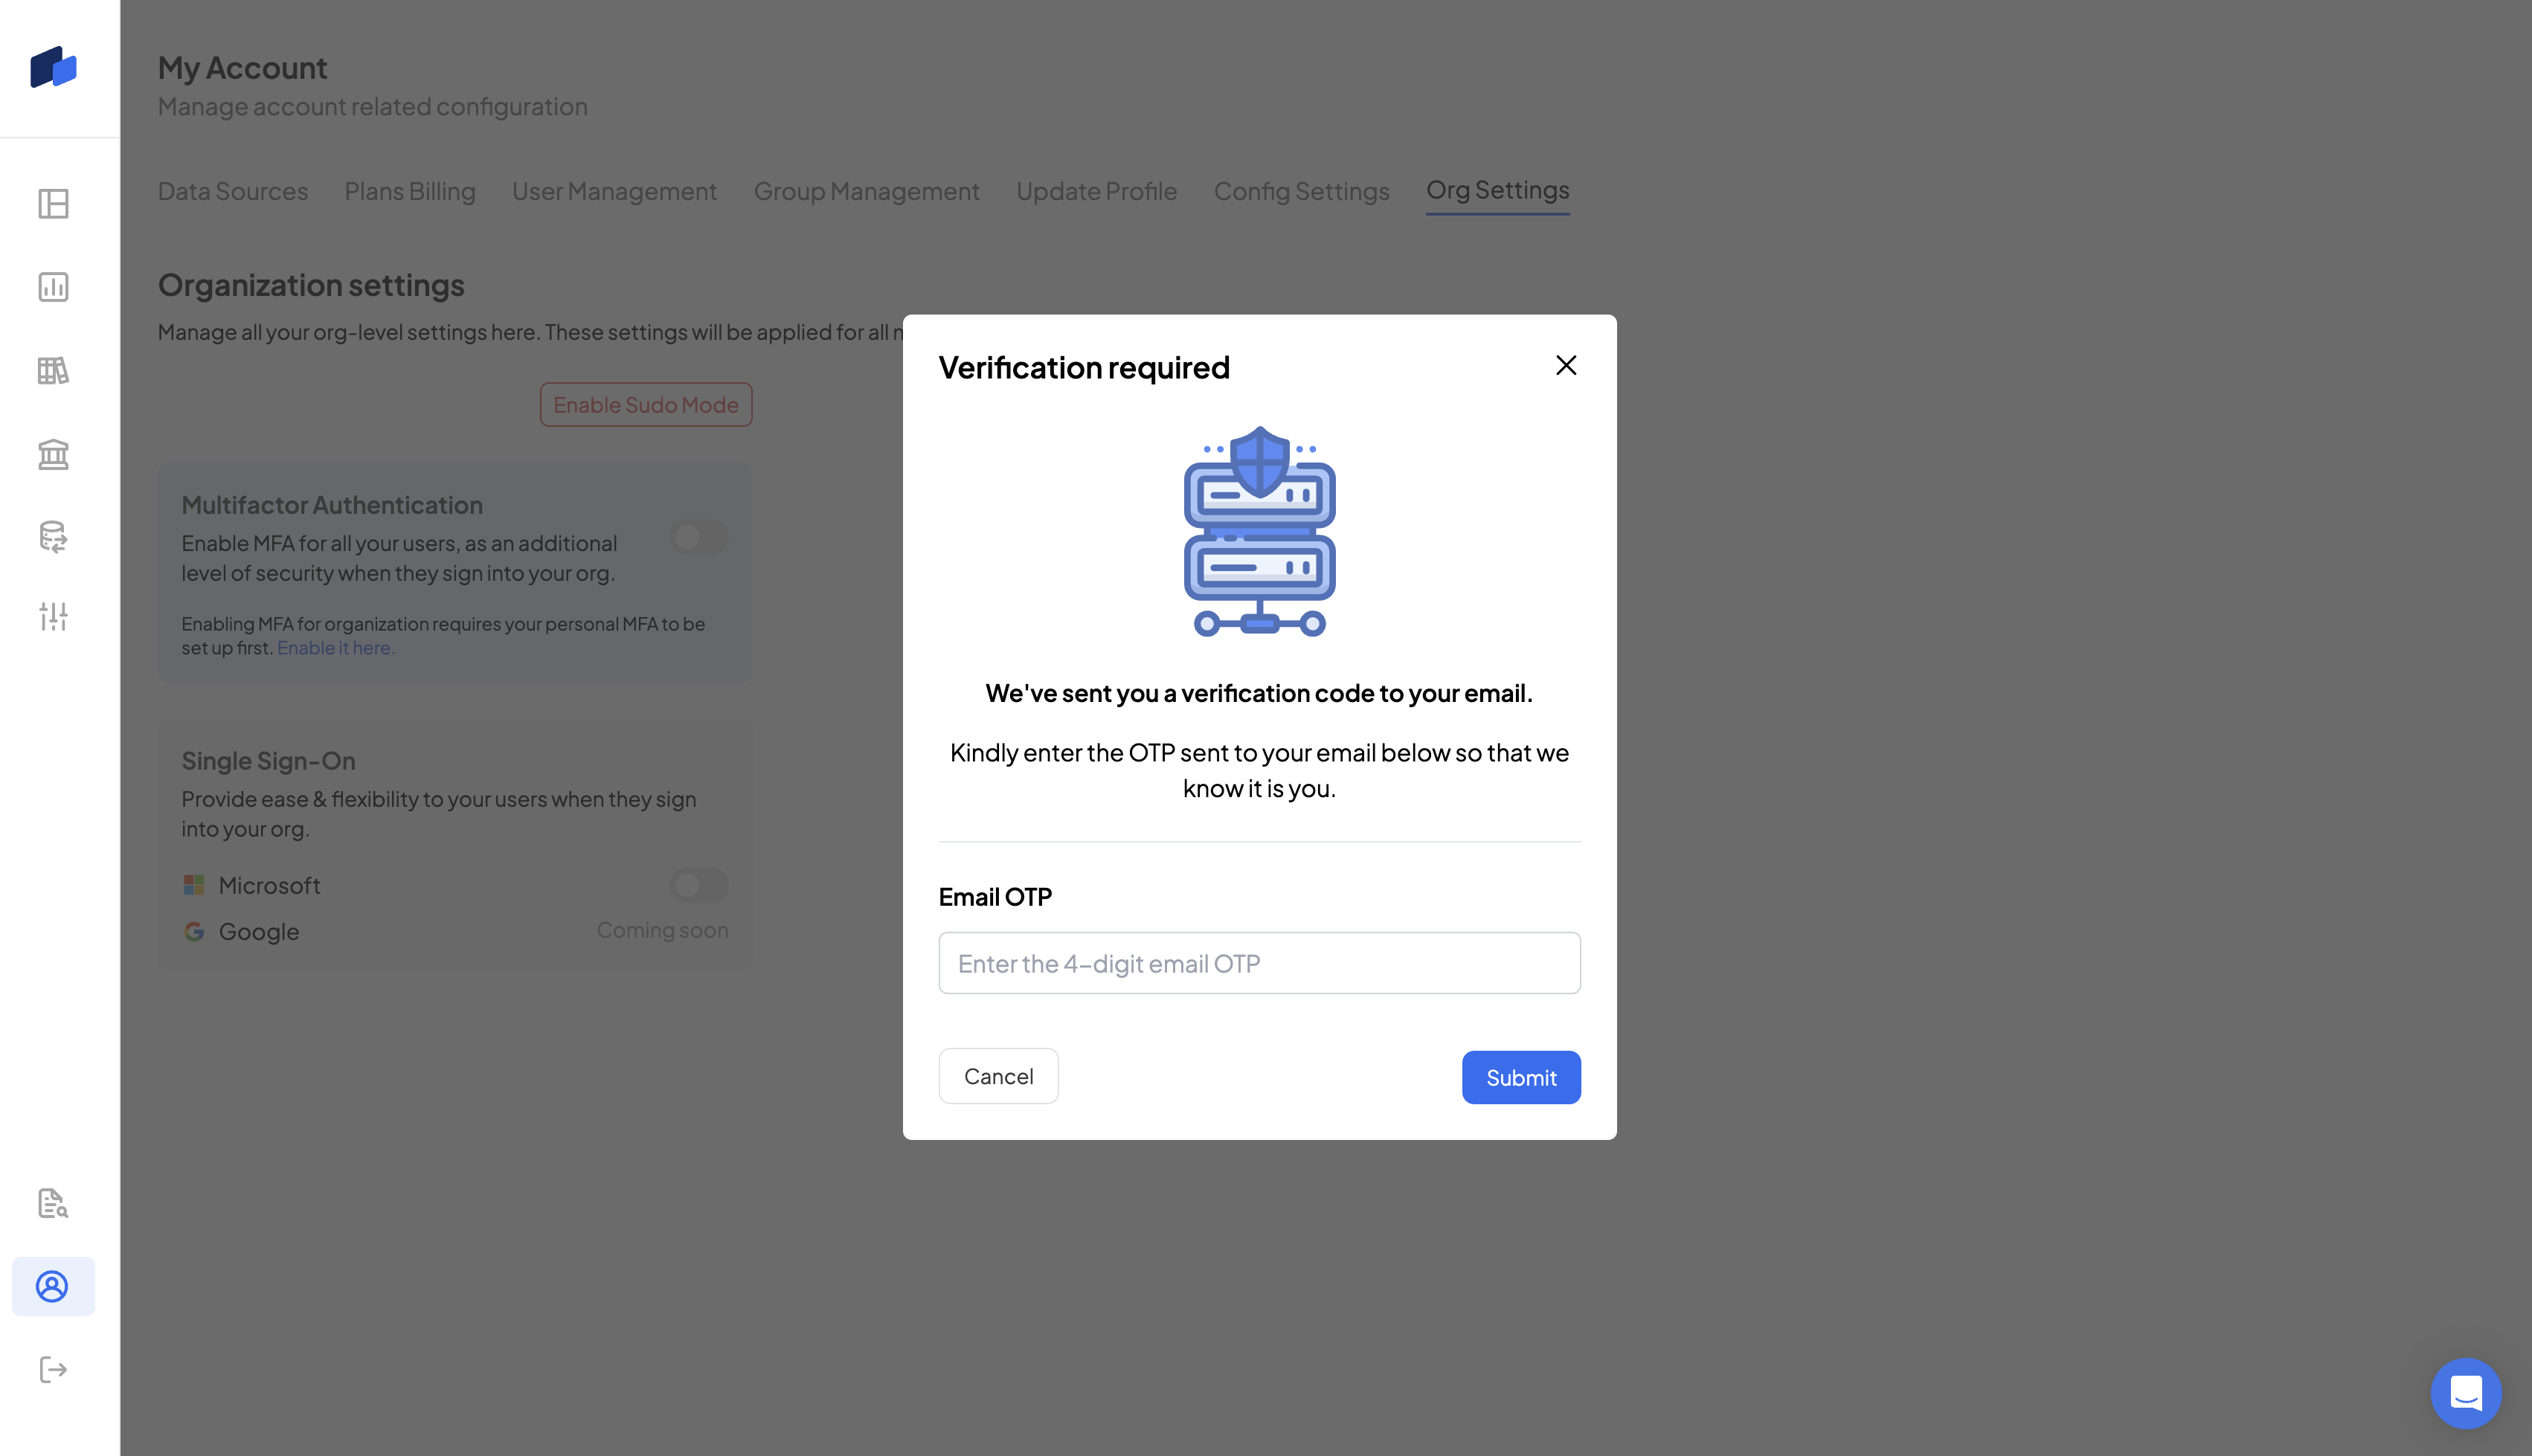
You will need to click on `Enable Sudo mode` to make changes on this page. You will receive a verification step to confirm the One Time Passcode (OTP) which is sent to your email before you can proceed to the next step.
An email OTP
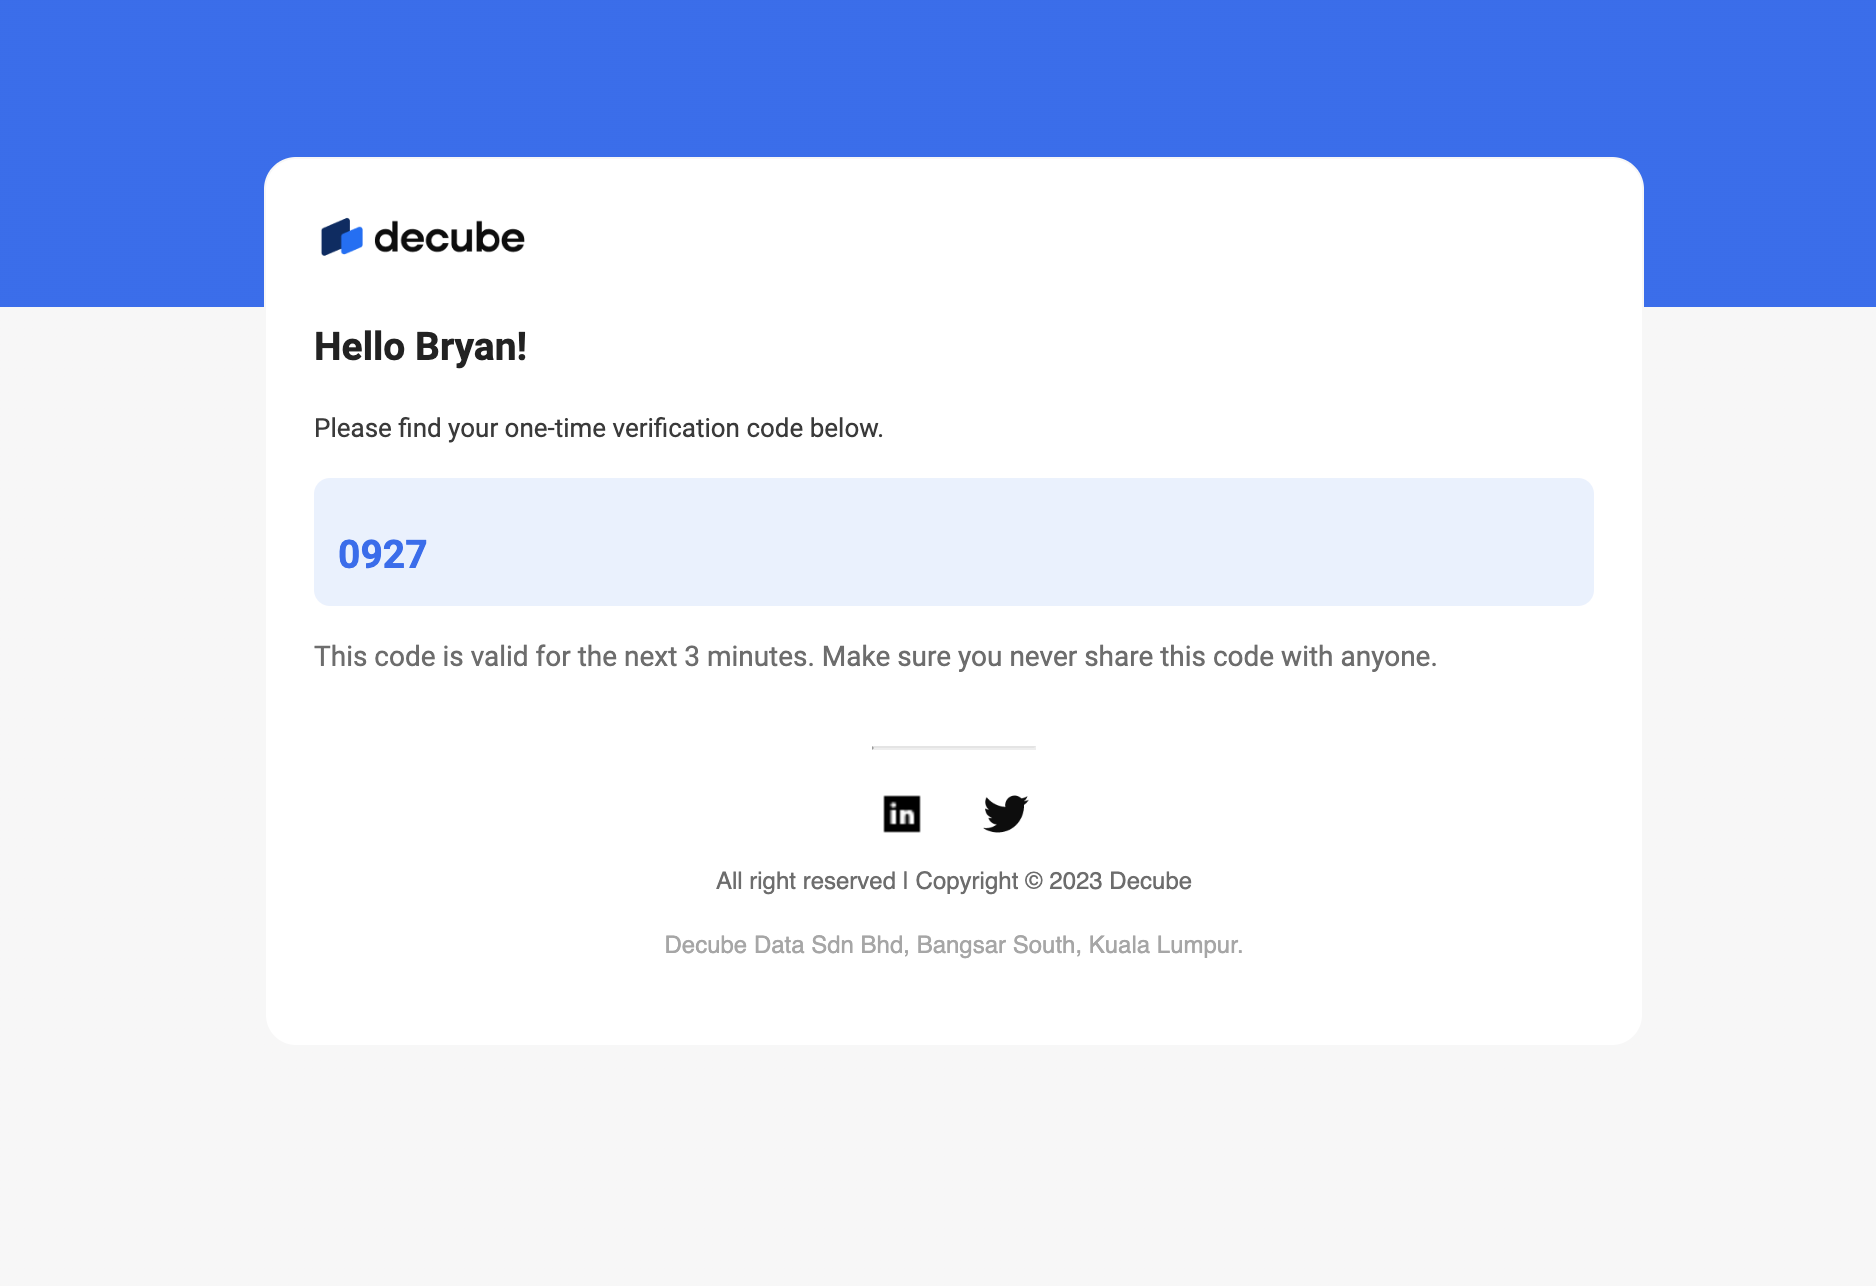
You will need to check your email and enter the OTP sent to your registered email, such as the example below.
Upon entering the OTP correctly on the verification modal, you will then be able to turn on the toggle under the `"Single Sign-On"` option.
Upon toggling this on, you may be redirected to a page to sign in to your Microsoft account. Once you have successfully signed in, you will be redirected back to Decube's Org settings page with the toggle switched on.
{% hint style="info" %}
As the first user in the organization to enable SSO, you will need the administrative privilege on Microsoft to grant consent to applications.
{% endhint %}
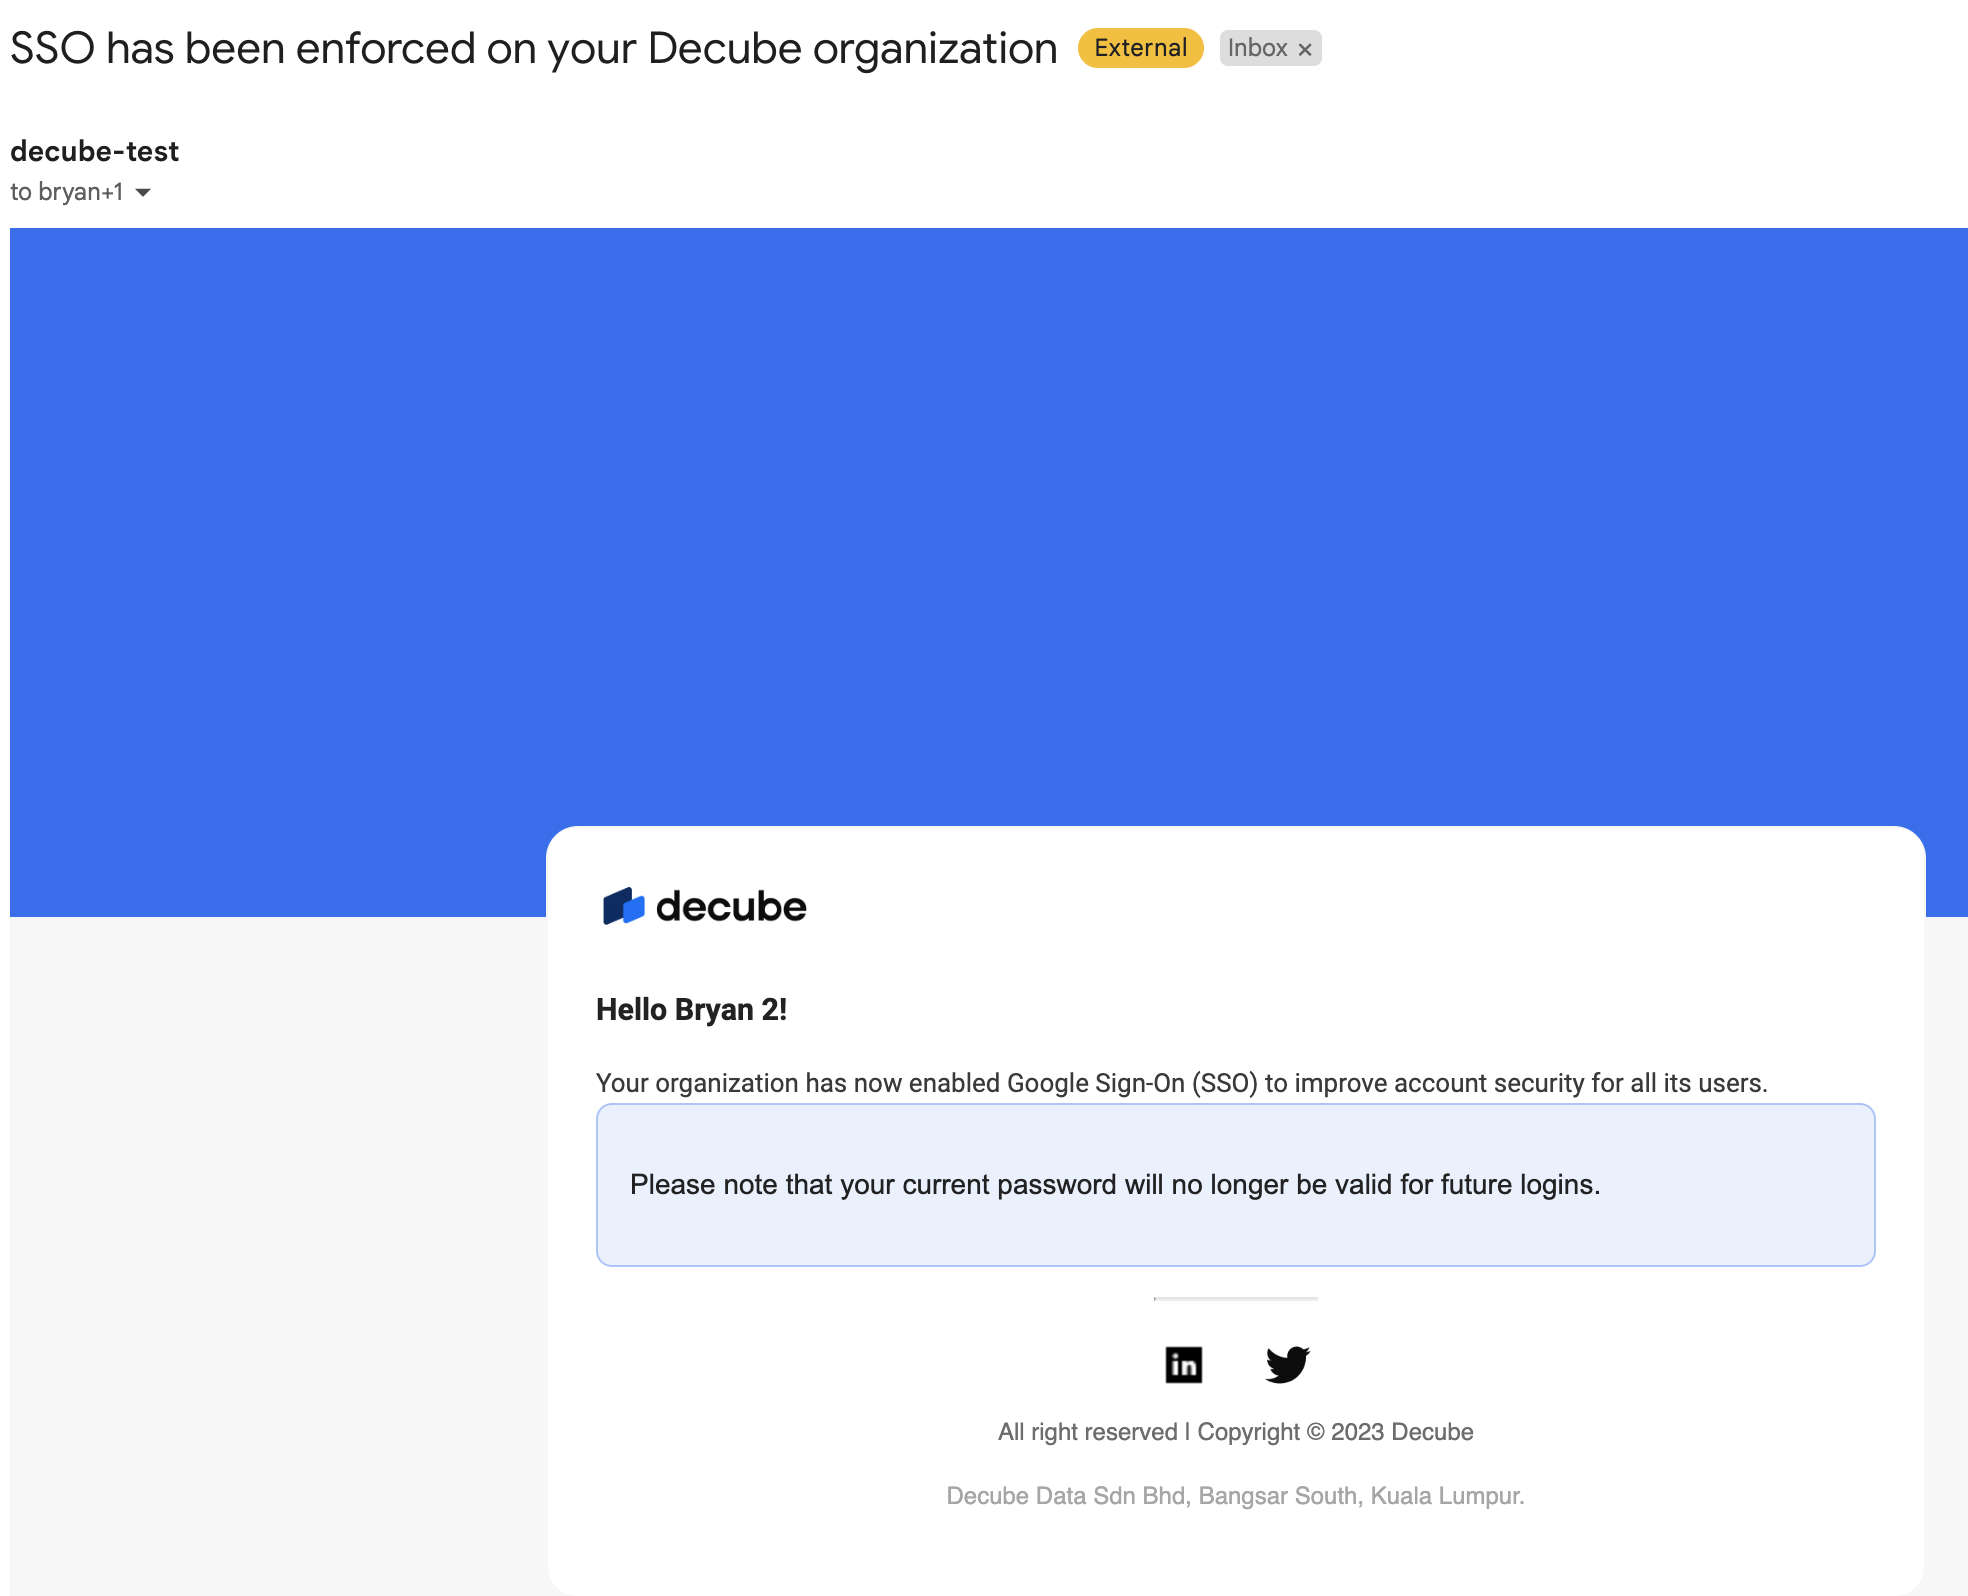
Once SSO has been enabled, all users in your organization will then receive an email as below, indicating that Microsoft SSO has been enforced on their org, and their initially registered Decube password credentials will be invalid.
Email sent to all users that SSO has been enforced.
### Routing SSO to a specific Entra tenant
By default, Decube routes Microsoft Entra SSO requests through the **common endpoint**, which accepts sign-ins from any Entra tenant. If your organisation has **guest users** — external users who have been invited into your Entra tenant from a different tenant — the common endpoint may redirect them to the incorrect tenant at login. Specifying your Tenant ID tells Decube to route all SSO requests through your tenant's specific endpoint instead, so those users can authenticate correctly.
{% hint style="info" %}
**Who can do this:** Only users with the **Owner** role can configure this setting.\
**Prerequisites:** Microsoft Entra SSO must already be enabled. The Tenant ID field only appears once SSO is active.
{% endhint %}
**To configure a tenant-specific endpoint:**
1. Navigate to **Org Settings → Security → Single Sign-On**.
2. Click on **Modify Configuration.**
3. Locate the **Tenant ID** field within the Entra SSO configuration.
4. Enter your organisation's Entra Tenant ID (see [#how-to-get-entra-tenant-id](#how-to-get-entra-tenant-id "mention")).
{% hint style="info" %}
The Tenant ID must be in GUID format: `xxxxxxxx-xxxx-xxxx-xxxx-xxxxxxxxxxxx`. Non-GUID values will be rejected.
{% endhint %}
5. Click on **Save Changes**.
6. Decube redirects you to authenticate against your Entra tenant to verify the configuration.
7. On successful authentication, you are returned to Decube — **tenant-specific routing is now active.**
All SSO login requests for your organisation will now route through your tenant's specific Entra endpoint.
**If authentication fails after saving**
If the Entra authentication step fails — for example, because the Tenant ID was entered incorrectly — you are returned to Decube with an error message. Re-check the Tenant ID value and try saving again.
{% hint style="danger" %}
If you are locked out of your account as a result of an incorrect Tenant ID, contact **** immediately.
{% endhint %}
**Reverting to multi-tenant routing**
To remove tenant-specific routing and return to the default common endpoint, toggle the switch back to **Multi (Standard)** in the same SSO settings section. This removes the Tenant ID and restores the original common endpoint behaviour.
#### How to get Entra Tenant ID
1. Access and go to **Microsoft Entra ID**.
2. Tenant ID will be shown under **Basic Information**.
***
### Unlink SSO in your organization
Unlink Single Sign-On (SSO) for your organization follows a very similar flow to Linking SSO, simply navigate to `My Account > Org Settings`.
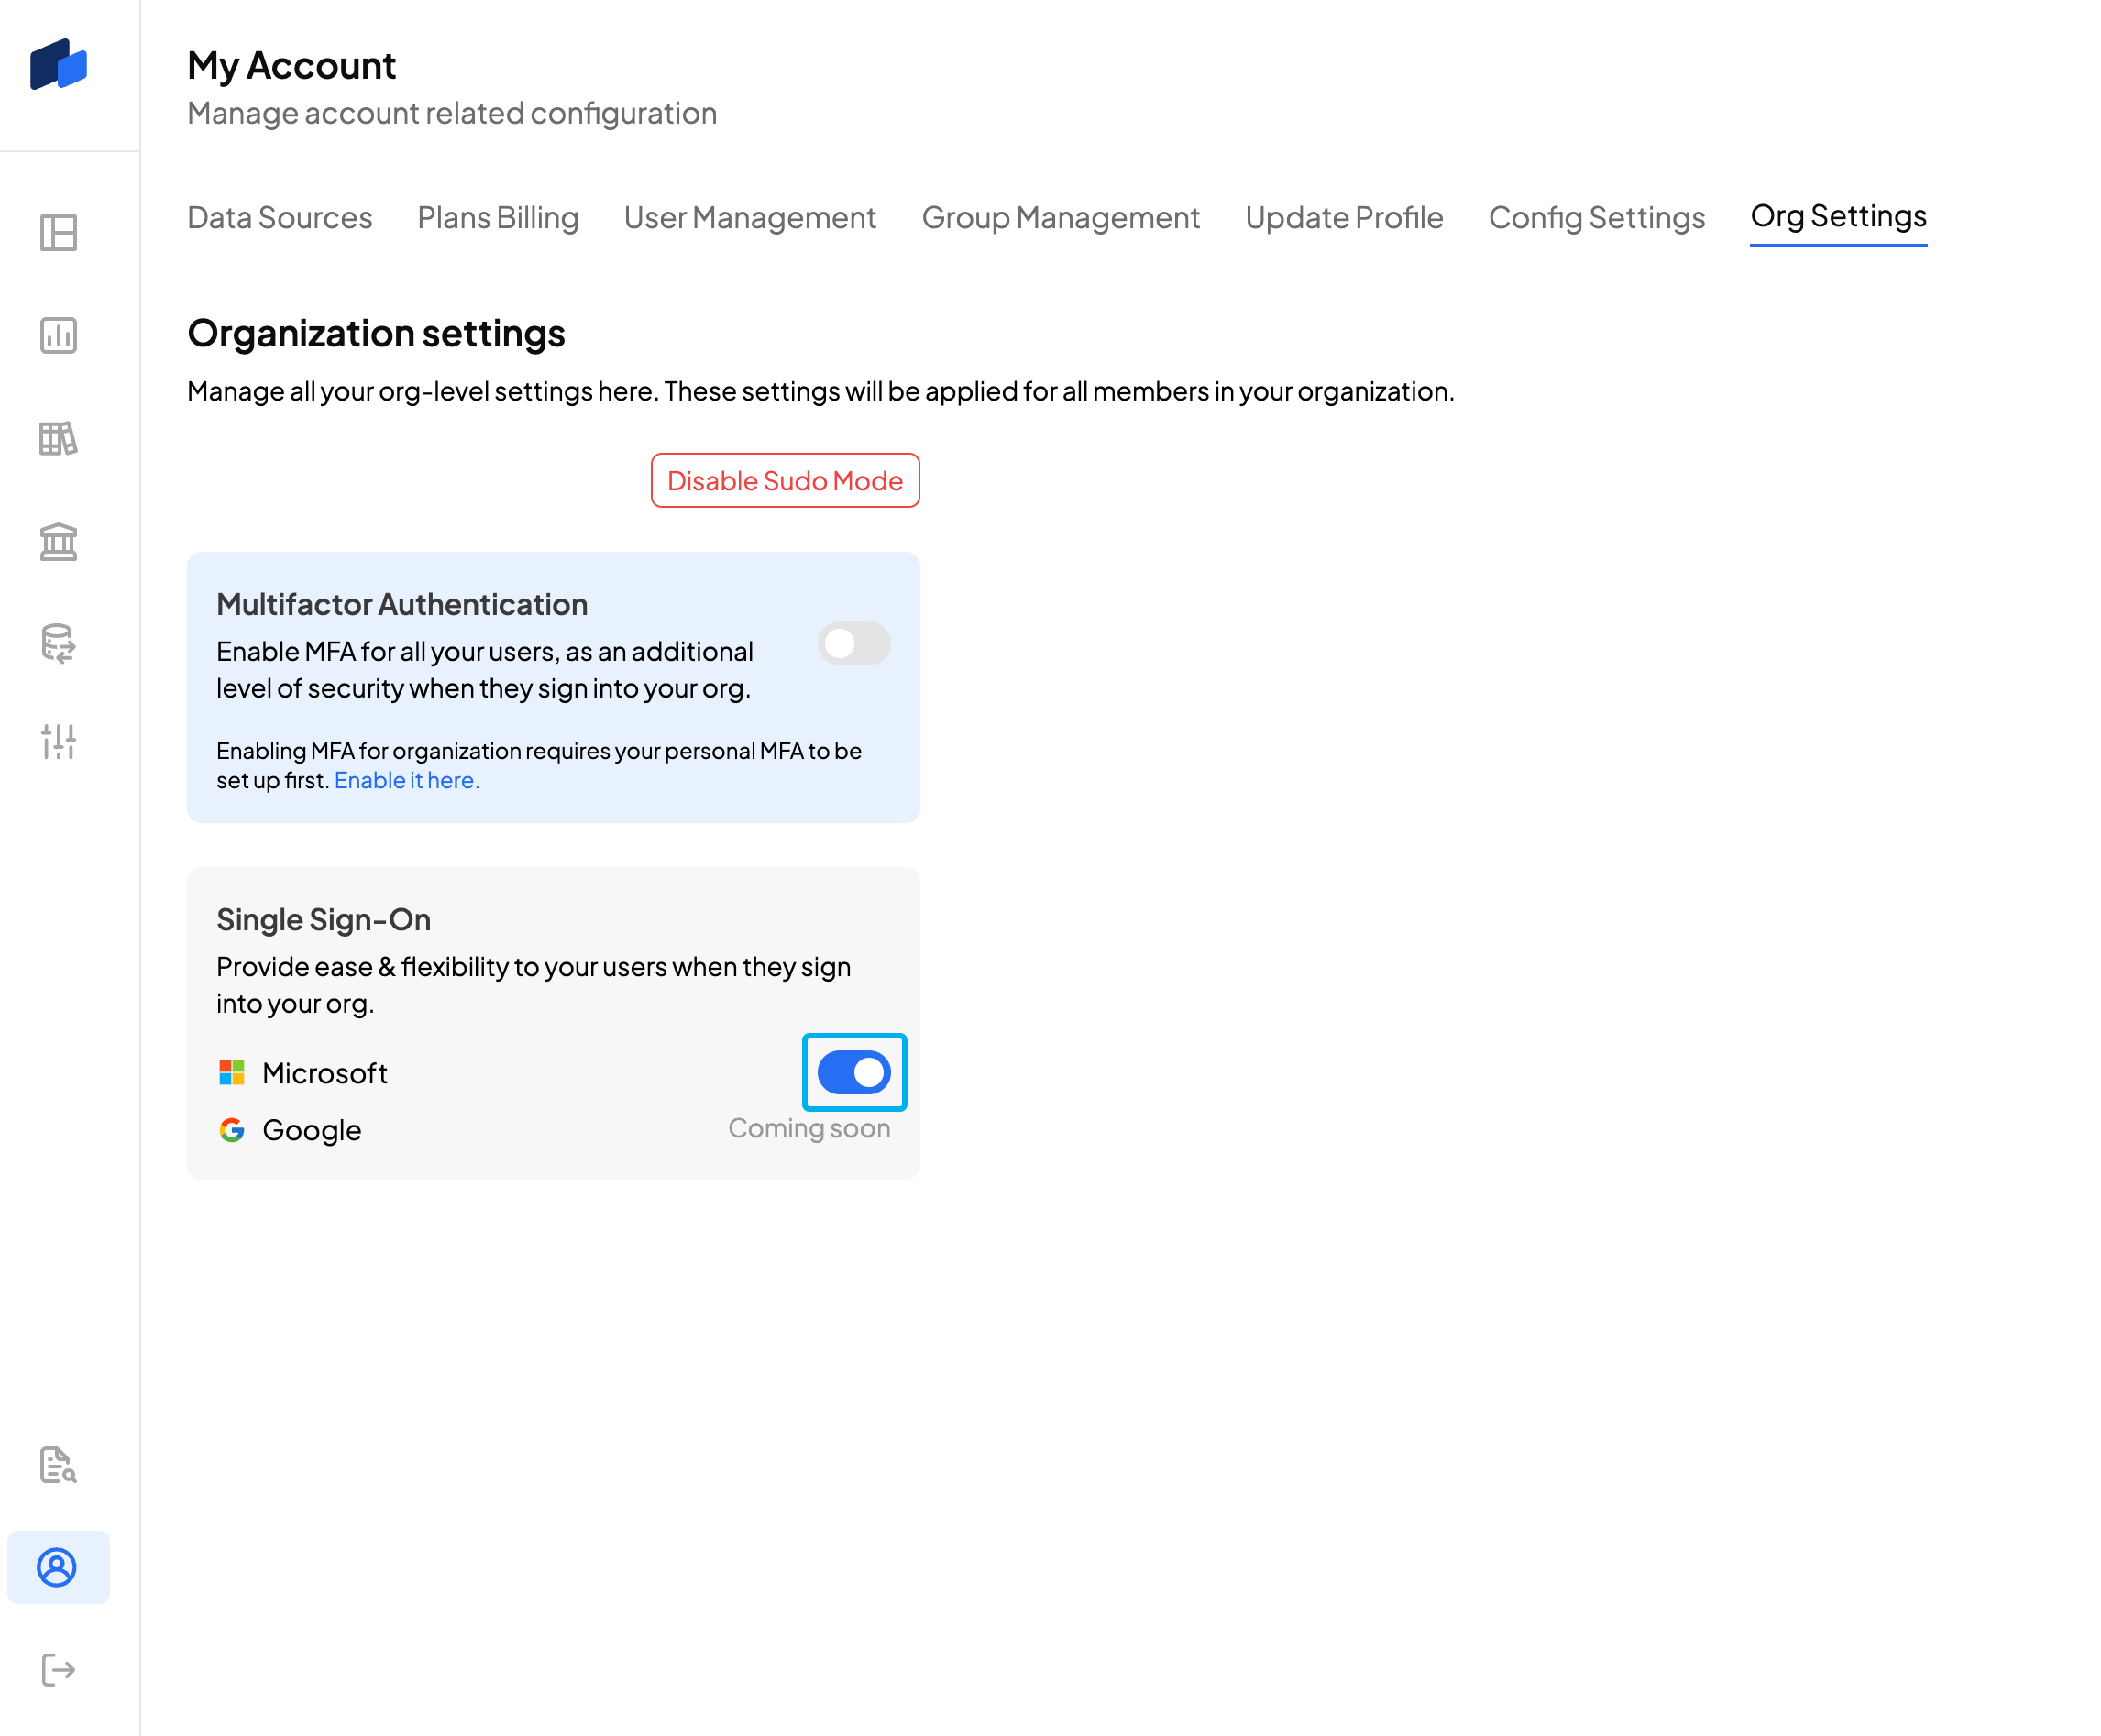
You must first "Enable Sudo Mode" and go through the verification process. After that, you simply have to click on the toggle under the SSO option to disable it.
Click on the toggle to disable SSO in your organization.
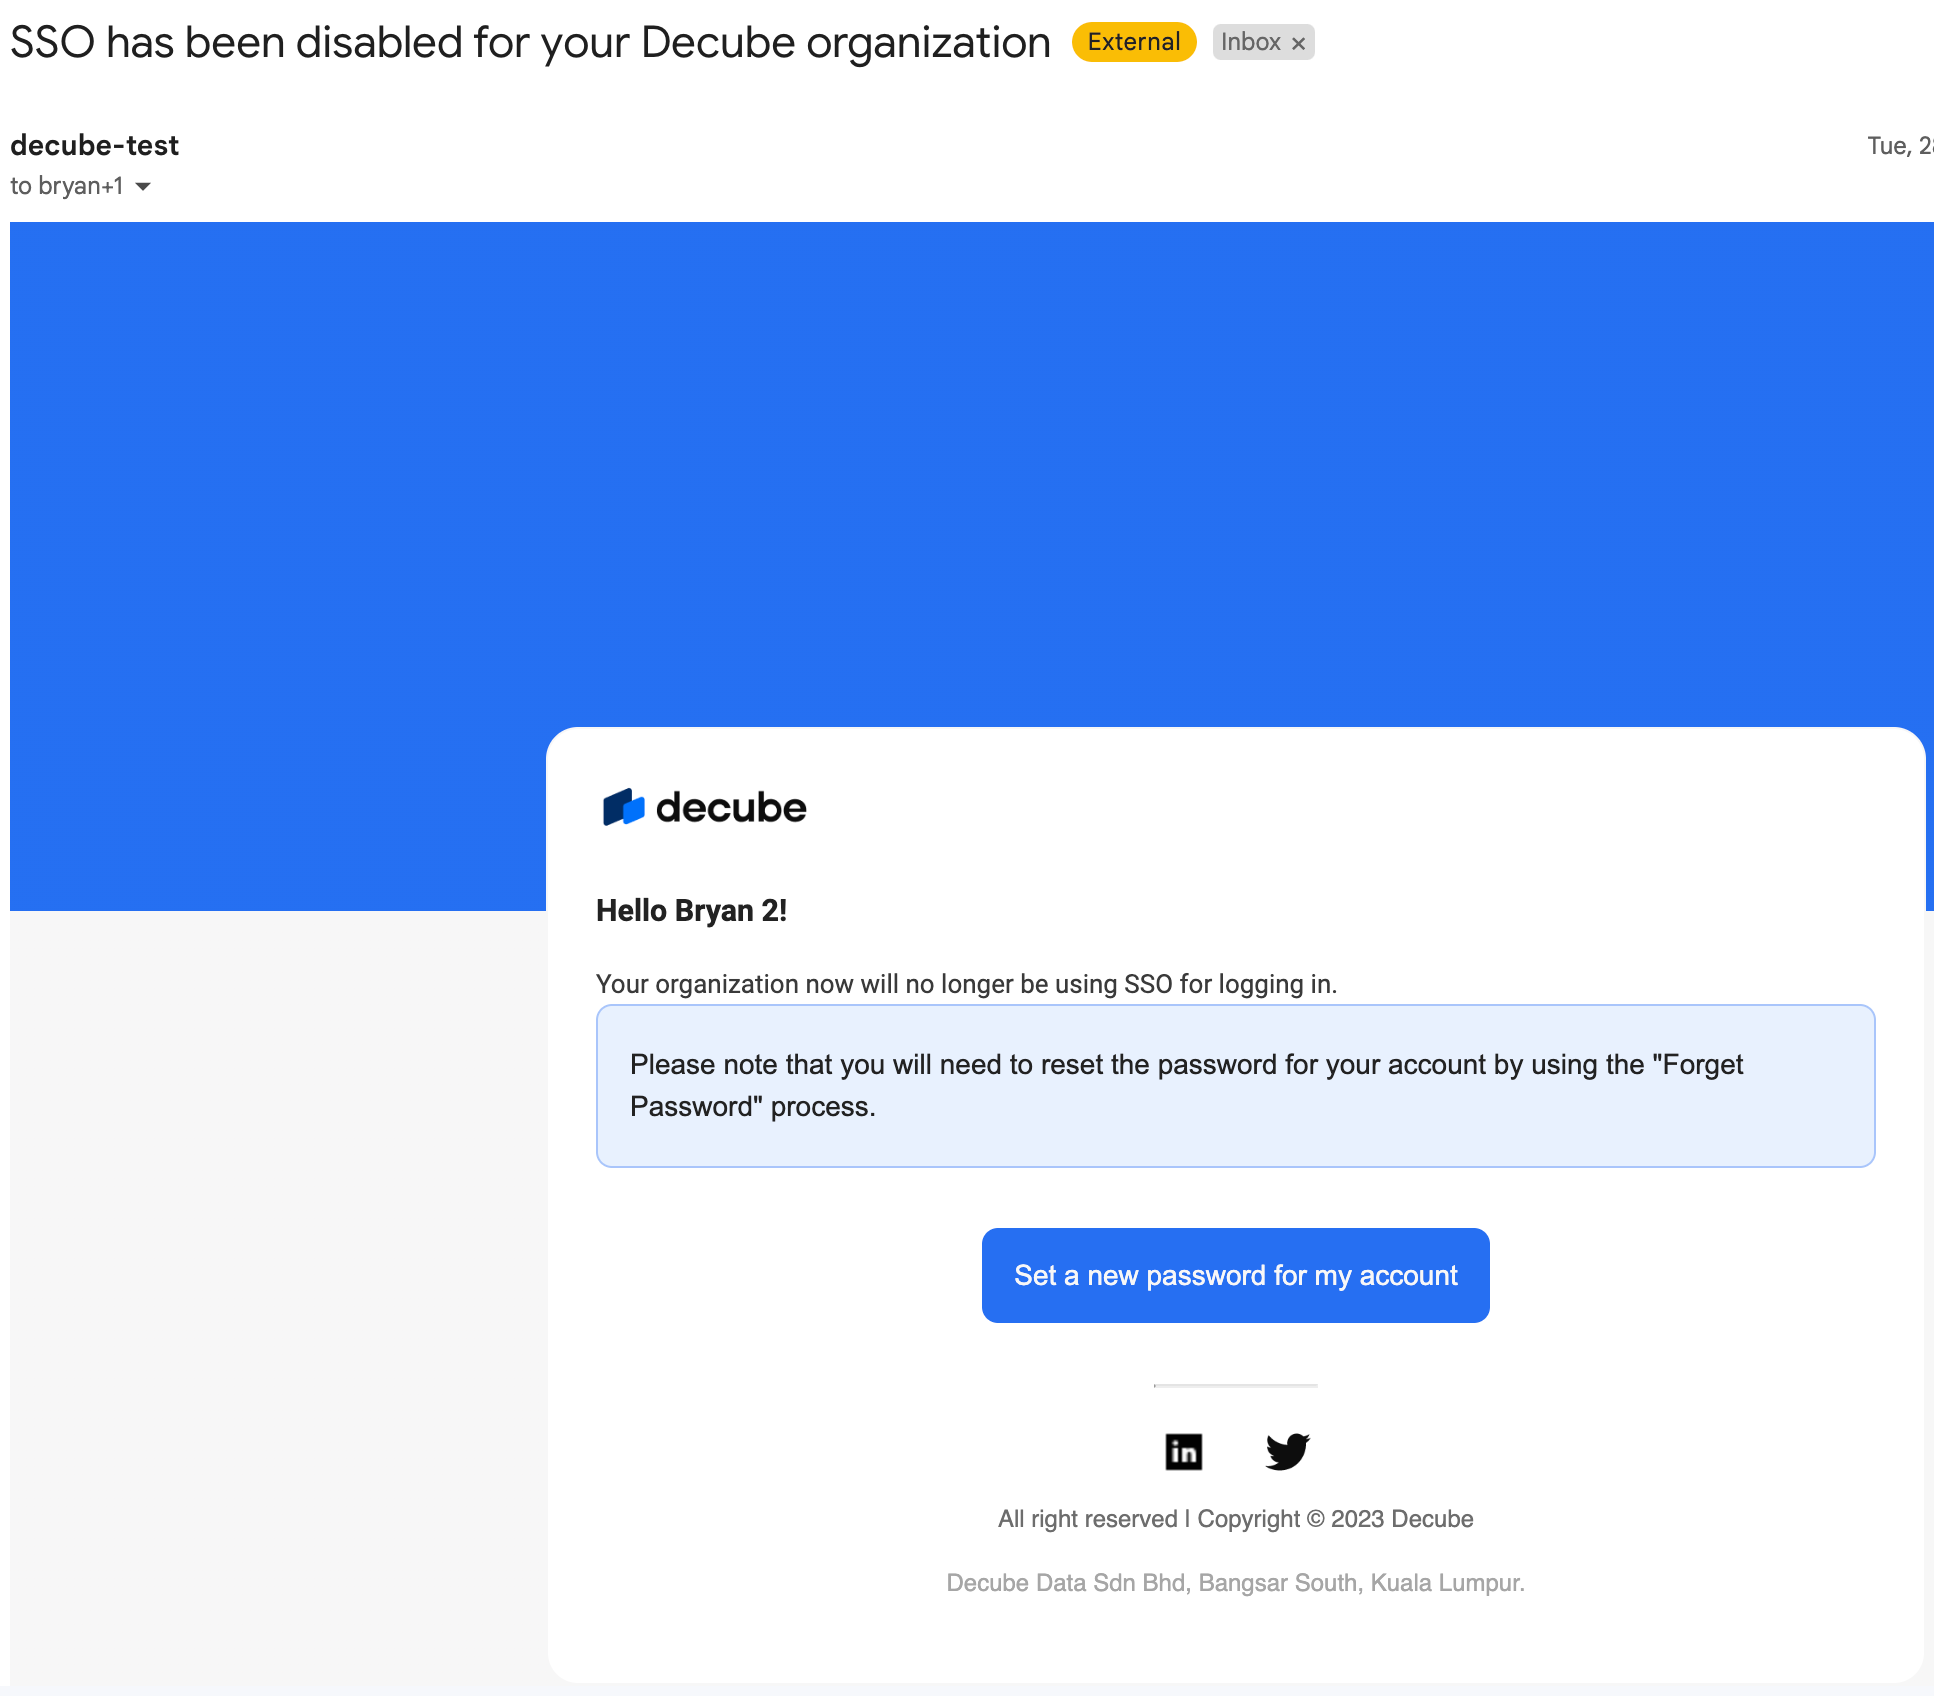
Once SSO has been successfully disabled, the users under your organization will also receive an email notification that `SSO has been disabled on your organisation` which example is shown below.
Email sent to all users that SSO has been disabled.
Due to the previous enforcement of SSO, users must now set a new password for their Decube account before they can log in. They can do so by clicking on the `Set a new password for my account` option on their registered email, or go to the sign in page and click on `Forget password`.
{% hint style="info" %}
**Note for Admins:**\
Admin consent workflow gives admins a secure way to grant access to applications that require admin approval. For more information, see [Configure Admin Consent Workflow](https://learn.microsoft.com/en-us/entra/identity/enterprise-apps/configure-admin-consent-workflow).
To grant tenant-wide admin consent to an application in Microsoft Entra ID and understand how to configure individual user consent settings, see [Grant tenant-wide admin consent to an application](https://learn.microsoft.com/en-us/entra/identity/enterprise-apps/grant-admin-consent?pivots=portal).\
\
To assign users and groups to an enterprise application in Microsoft Entra ID, [learn more here](https://learn.microsoft.com/en-us/entra/identity/enterprise-apps/assign-user-or-group-access-portal?pivots=portal).
{% endhint %}




.png?alt=media&token=b35cf874-fd19-4d55-bea4-c8240e4e65f2)